1) Start Adobe Photoshop.
2) Open the Overlay you want to use
3) Select the color you want your text to be.2) Open the Overlay you want to use
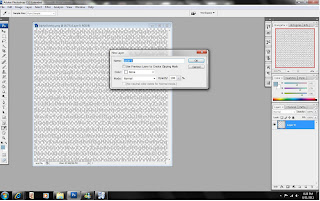
4) Select Layer->New->Layer, click OK

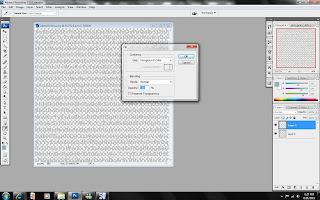
5) Select Edit->Fill->Foreground Color

6) Select Layer->Group with Previous or press CTRL-G
7) If you want the background color to be white, just click File->Save As, Enter a file name and select JPEG as the format.
Want the background to be a color other than white
1) Select the color you want the background to be
2) Click on Layer->New Layer
3) Click on Edit->Fill->Foreground Color
4) Now we need to move the new layer under the Text layer, just drag it until you get to the bottom
5) Before dragging
After Dragging
You can also get the pdf of this here at 4shared.
For those of you that don't use Photoshop there is a PNG of the Overlay included with the PDF.


No comments:
Post a Comment