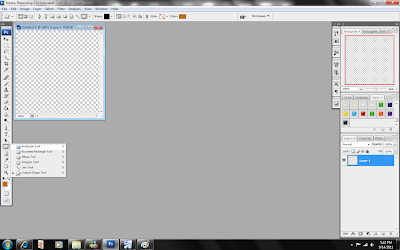
Overlays are digital files, in general JPG or PNG used to add texture and change the look of your pictures. You can also use overlays to make your own background papers. Using Patterns to create overlays helps to save time and allows you to make more detailed overlays.
1. Start Adobe Photoshop.
2. Create a new document and make it 1”x1” or 300x300pixels at 300DPI.
3. Select the color you want your text to be. For overlays I usually use a grey color, this make it easier when I want to add color to the overlay. For the purpose of the tutorial I will use Orange.
4. Select the Shapes icon from the Palette, it right under the Text Icon (T). Right click and choose the rectangle tool

5. Now draw the rectangle about ½ the size of the work area. That should make the Rectangle about 1/2 “ wide by 1” high.
6. From the layers palette right click and choose Rasterize Layer.
7. Select Edit->Define Pattern and give your pattern a name and click oK
8. Create a new document and make it 12”x12” or 3600x3600pixels at 300DPI
9. Click Edit->Fill->Pattern
10. Select the pattern you just created
11. You now have a two stripe overlay.
12. Save your stripe overlay.
Here is an example of mine where I added a white background.
Here is today's freebie, PDF of the tutorial above and for those that don't use Photoshop a striped overlay.
You can get this here at 4shared.


No comments:
Post a Comment